Visual Editor
ProVisual Editor is available on Pro and Enterprise plans.
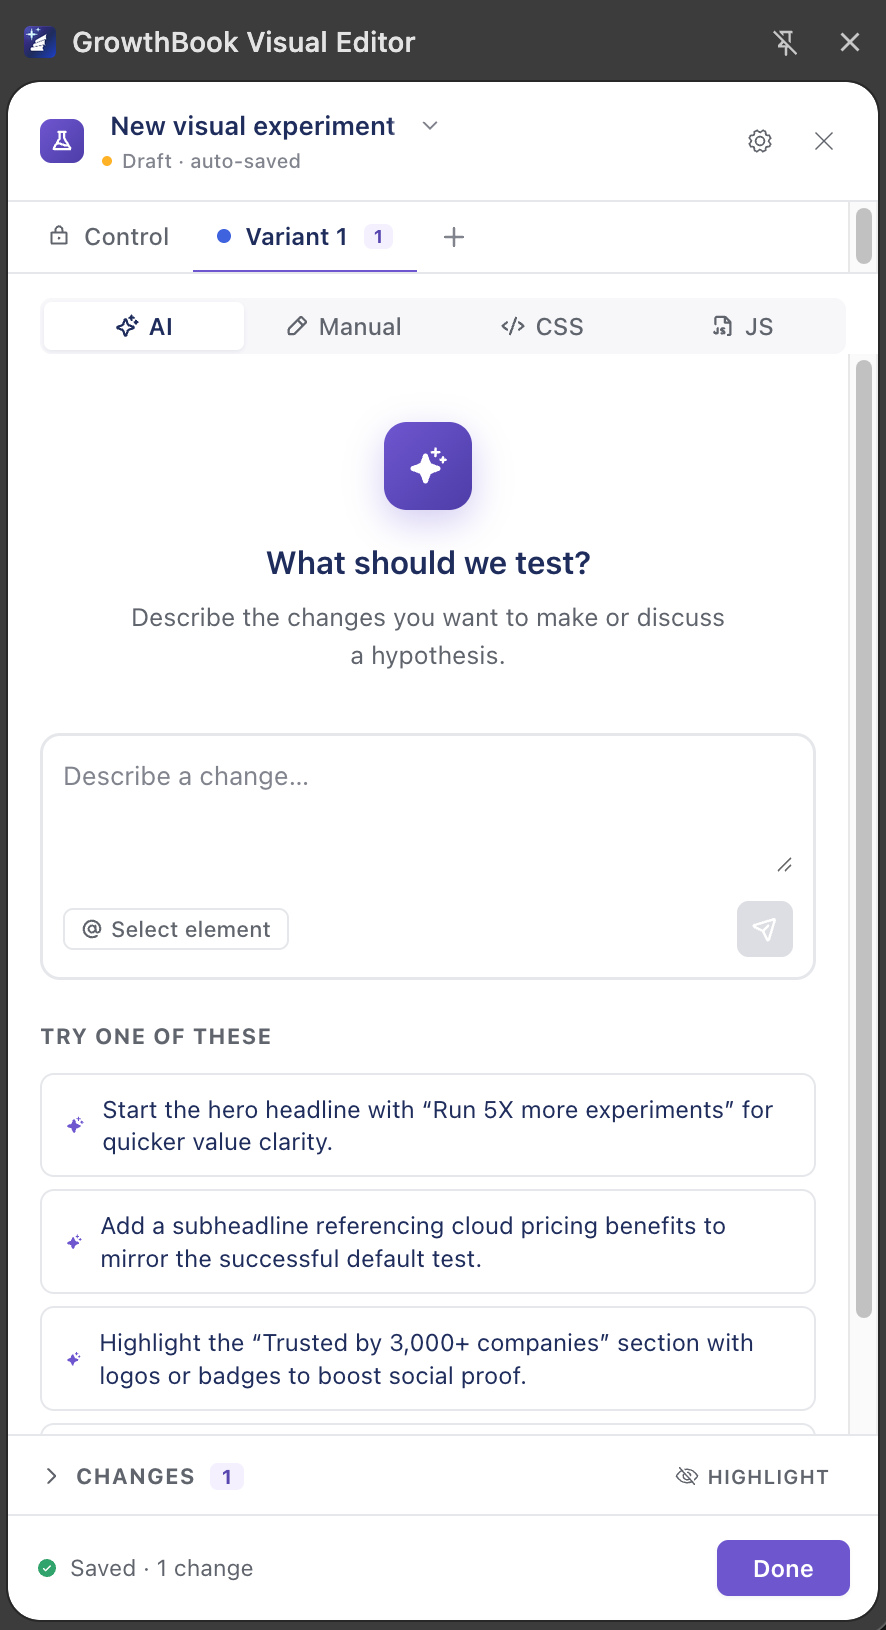
GrowthBook's AI-based Visual Editor is a no-code way to build and launch experiments on your website. Describe the change you want in natural language, review what the editor proposes, and ship a real A/B test without writing code or waiting on a deploy.
The Visual Editor is currently in beta and available through our early access program. Interested in trying it? 👉 Sign up here.
The Visual Editor is a Chrome side-panel extension. You open it next to your site, pick the page you want to test, and make changes two ways:
- AI mode — describe the change in plain language ("make the hero headline shorter and the CTA green") and the editor proposes the edits for you to preview and accept.
- Manual mode — point and click to select any element and edit its content, typography, layout, background, classes, and more with structured controls.
- Figma & image import (beta) — turn a Figma frame or a mockup image into a high-fidelity, testable component the editor builds and places on the page for you.
To actually render your variations on your live site, a developer integrates one of GrowthBook's front-end SDKs — the Script Tag, JavaScript, or ReactJS SDK — or renders them on a CDN with an Edge SDK. See Running on your site.
The Visual Editor is now a Chrome side panel. If you're using an older version of the GrowthBook DevTools extension with the in-page overlay editor, see the Legacy (in-page) editor docs.
Benefits
- Prompt-driven editing: Describe changes to text, images, buttons, spacing, and more in AI mode. Pin an element when you want the AI to focus on a specific spot on the page.
- Run experiments without dedicated eng time: Draft and QA variations in the browser; your site still needs the GrowthBook SDK for production delivery. See Running on your site.
- Manual precision: Fine-tune typography, spacing, links, and visibility with structured controls when you know exactly what you want. See Manual mode.
- Transparent by design: Preview links, a debug panel, and warnings when you edit a live experiment. See Preview and QA.
Connect with the GrowthBook team and other beta users for help, feedback, and early updates. Join the Visual Editor beta channel on Slack.
Quick start
- Install and connect the Chrome extension (~30 seconds).
- Open the side panel on the page you want to test and start editing in AI mode or Manual mode.
- Set up the SDK on your site so variations render for real users.
Hitting a snag? See Troubleshooting.
Requirements
Your app must be a front-end web app in a browser (not native mobile or desktop). For other platforms, use Feature Flags in code.
Heavily client-side-rendered apps (React, Vue, Svelte) may flicker or fight the SDK when the framework re-renders the DOM. See Running on your site → Strategy 4 for details and alternatives.
SDK setup
Visual experiments only render if your SDK Connection has Include Visual Experiments enabled and the correct SDK is installed on your site. See Running on your site for the full setup.